Building a modular marketing landing page with Eleventy / Part 1
My approach to building a flexible landing page in Eleventy.

Precondition
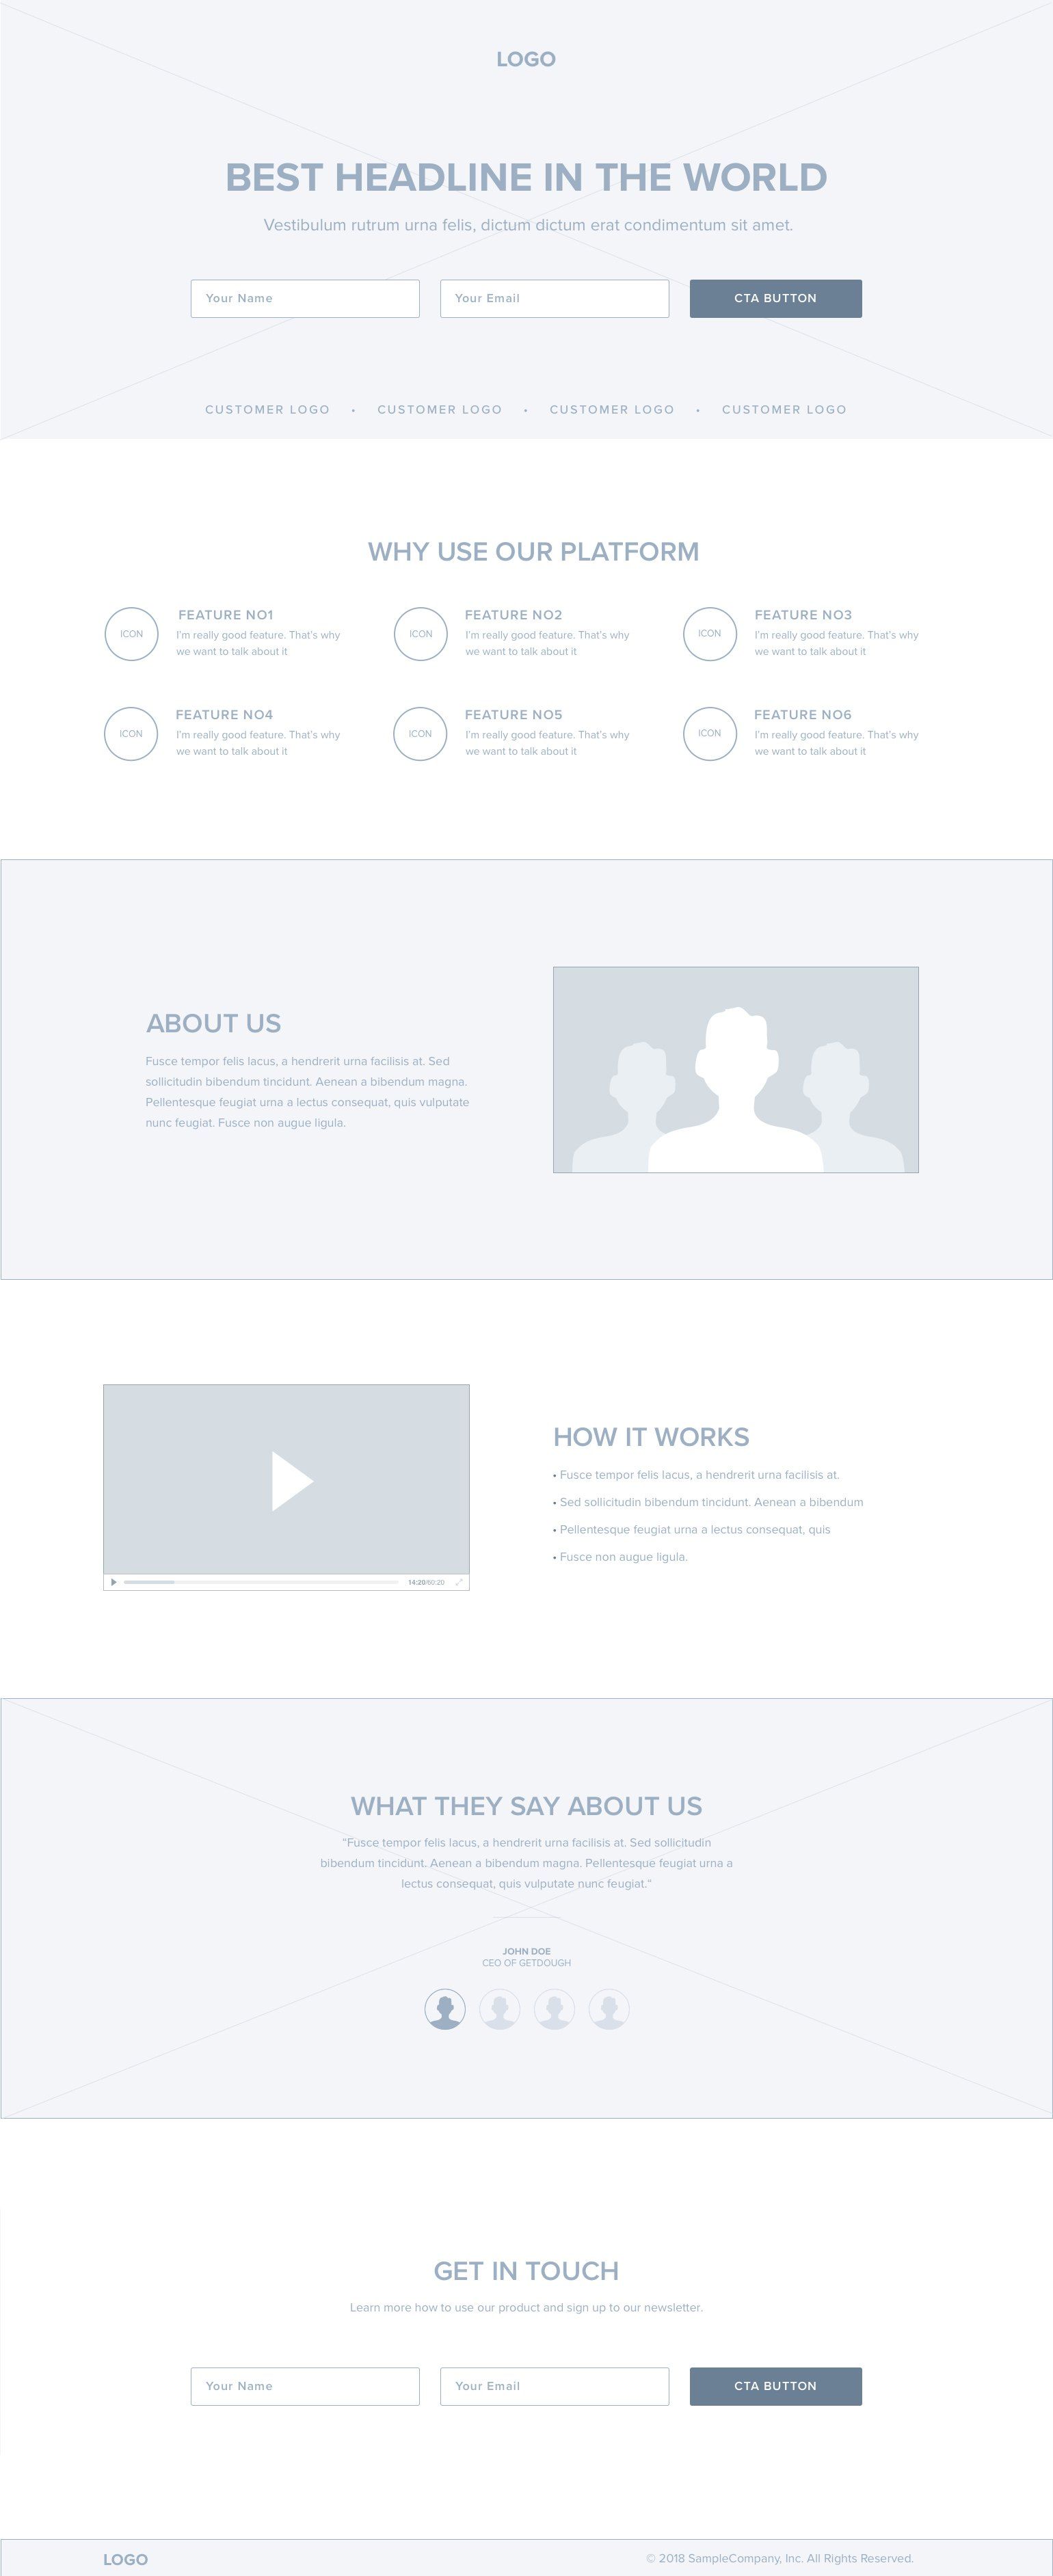
In many digital marketing contexts, you would need “a quick landing page” for a product, a service, or something. It is a single page that would look something like this, consisting of a set of different content blocks / sections / modules / components – whatever you want to call it –, presenting content in different ways.
A decent numbers of web developers have been there, and for some it’s still their daily life. Everyone has their own approach to it, I’ve been looking for something flexible and scalable with a high Developer Experience and the possibility of a quick and reliable delivery.
I will show you in this series how to build a scalable page with the Static Site Generator Eleventy (11ty / 11ty.dev), how to build varieties of the same page (e.g personalisation or A/B testing) and how to extend this to a multisite environment. Another approach to the same problem is shown here https://github.com/ttntm/11ty-landing-page – see for yourself where the differences are and which approach suits you and your needs more.
Why Eleventy?
There are a lot of static site generators out there to choose from (for a good overview you can start here. (If you need an introduction to the general topic, look at “What is a static site generator?”) The choice can be made based on technology, hype cycle, existing infrastructure, or “other criteria”.
I have settled on Javascript as I have lesser experience with Go, Ruby, or Python – and PHP … well, is PHP. I use it and I don’t hate it, but in the overall Jamstack ecosystem it is not very prominent. Besides the fact, that PHP is a static site generator already.
While looking at the different options, these parts were the most important to me:
- any number of sections should be possible
- sections should have a configurable flexible appearance
- DRY (if possible)
- Markdown based (I might want to scale this to a headless CMS)
- No server or client side dependencies beyond the SSG itself.
Second tier criteria were:
- Availability of skills
- Learning curve
- Extensibility (multi-site / multi-language)
The not so important things were
- build support “on the edge”
- build times
- “native integration” (e.g into Netlify, Vercel, … )
Eleventy fulfils two criteria out of the box.
There is no framework dependency on client side, means we don’t need to ship Javascript if we don’t want to, which is always a big big plus in my book. Additionally, we are not subject to dependencies beyond Eleventy. That might vary for your use case, but I like to leverage the layers of the web to their full extent to build a robust experience.
You can use Markdown (amongst other languages) to store content.
Besides that, it’s blazingly fast and flexible, and I’ve read a lot of good things about it. But after so much ado, let’s get going.
Building the page
Given that content and design are ready, let’s build the page. We quickly start with setting up the page build environment as such:
src – the folder where our source files are. Layouts, content, images, media, everything has its place under this.
dist – here is where the rendered page lives.
Create a file .eleventy.js that looks like this:
module.exports = config => {
	return {
        dir: {
            input: 'src',
            output: 'dist'
        }
    }
};
If you prefer something different, you can change this in .eleventy.js
To learn more about setting up and configuring an Eleventy project, check the 11ty website or one of their great tutorials.
The layout(s)
The layout can be split into the main layout (base template, if you might), and the partials for the different parts of the page. The sections part plays a special role, but we’ll come to that.
The layouts live in a special folder, src/_includes.
The base / main layout
We start with the overall layout definition: layout.njk
<html>
	{% include "partials/head.njk" %}
	<body>
		{% include "partials/header.njk" %}
		{% include "partials/sections.njk" %}
		{% include "partials/footer.njk" %}
	</body>
</html>
The partials
The layout for the partials can all be found within the _includes/partials folder. You can put them wherever you want, you just need to let Eleventy know about this.
Let’s start with a very simple HTML head section in partials/head.njk:
<title>
	{{ page.title }}
</title>
After that, we define the header. It consists of two types of headlines, a big image and two CTAs (primary and secondary)
partials/header.njk
<header>
	<img class="image-hero-image"
		 src="{{ header.heroImage }}">
	<div class="text">
		<h1 class="text-hero-primary">
			{{ header.mainHeadline }}
		</h1>
		<h2 class="text-hero-secondary">
			{{ header.secondaryHeadline }}
		</h2>
	</div>
	<div class="buttons">
		<a class = "button-cta-primary"
			href = "{{ header.primaryCTALink }}">
			{{ header.primaryCTAText }}
		</a>
	</div>
</header>
The sections
For the sections, we use Eleventy’s collections feature. We could set this based on folders or tags, for the sake of simplicity we’re using the tag “section” for every section here. The file looks as follows:
partials/sections.njk
{% for item in collections.section %}

	{% if item.data.layout %}

		{% include item.data.layout %}

	{% endif %}

{% endfor %}
This iterates over all files that belong to the section collection, checks if layout data is present in the frontmatter and includes the corresponding file. This gives us a lot of flexibility in how the content can be set up for the individual module.
An example section layout could look like this:
modules/text-image-basic.njk
<section class="item.data.sectionClass">
	<div class = "container-section-image">
		<img class="image-section-image" src="{{ item.data.image }}" alt="{{ item.data.imagealttext }}">
	</div>
	<div class = "container-section-text">
		<h2>{{ item.data.headline }}</h2>
		{{ item.templateContent | safe }}
	</div>
</section>
Let’s create the template for the footer quickly, before moving on to the data.
partials/footer.njk
<footer>
<div class = "footer-conversion-area">
<!-- use your signup input here -->
</div>
<hr>
© {{ config.date }}
</footer>
The data
Let’s start with the main file, index.md. This holds all the page meta information, like title etc. as well as the “static parts” like content for the header and the footer. All of that is in the front matter.
---
title: "My Awesome Landing Page"
layout: "layout.njk"
header:
  heroImage:
  mainHeadline:
  secondaryHeadline:
  primaryCTAText:
  primaryCTALink:

footer:
  companyName: "Awesome, Inc."

config:
  date: 2022

---
So with that done, we’re moving forward to the sections. Creating a content section for the layout above in the sections/section1.md file.
---
title: "Simple text / image section"
tags: "section"
layout: "modules/text-image-basic.njk"
headline: "Most awesome feature"
image: "assets/images/awesome.jpg"
imagealttext: "An awesome image"
permalink: false
---
Amazing news for amazing people: **Our newest feature is now available for everyone.** You can see it in the other sections.
This is a second paragraph, it is only here for demonstration purposes.
There are 2 key things to note here:
The frontmatter carries a layout entry, just as any file would. This assigns the correct sectional layout to the content.
You might have spotted the permalink: false entry. This means, that Eleventy will not generate a separate page from this Markdown file as it normally would. Try to remove it and you’ll end up with a /sections/section1/index.html file.
Additionally, the “long copy” content is not part of the frontmatter. This retains the full power of Markdown to be used in your content creation, you could even add extra images etc.
So far, we have the header, footer, and one section. Let’s create a few more.
Flexing the sections
To be really flexible, we need to create some more, different sections.
Let’s start with the layout file: modules/video.njk
<section class="{{ item.data.sectionClassName }}">
	<div class="container-text">
		<h2>
			{{ item.data.headline }}
		</h2>
		{{ item.templateContent | safe }}
	</div>
	<div class="container-video">
		<video controls="yes" poster="{{item.data.posterimage}}">
			<source src="{{item.data.video}}" type="video/mp4">
            	Your browser does not support the video tag.
		</video>
	</div>
</section>
Now let’s create our content file: sections/section_video.md
---
title: "Video section"
headline: "Watch how it comes to life"
tags: "section"
layout: "modules/video.njk"
video: "my-video.mp4"
posterimage: "assets/images/my-awesome-image.jpg"
permalink: false
---
Here is additional content that accompanies the video.

**See for yourself!**
We’d probably also want an image that can be full width (or not), with an annotation, so we create modules/full-image.njk
<section>
    <img src="{{ image }}" alt="{{ imagealttext }}">
    <caption>{{ imagecaption | safe }} </caption>
</section>
And the data file section-image.md:
---
title: "Simple image section"
tags: "section"
layout: "modules/full-image.njk"
image: "assets/images/awesome.jpg"
imagealttext: "An awesome image"
imagecaption: "A longer caption for <strong>this particular</strong> image"
permalink: false
---
So, the idea is clear. We’re carrying a layout section in every section along with the content. This enables us to have as many different sections as we want. This is the first step on building modular landing pages.
Conclusion
So far the ride has been smooth. We have now at our hands a simple and elegant way to quickly build an extensible marketing landing page. Especially when you have an existing component library or similar, it is very easy and very fast to set up pages in that way.
In its current state, this is only working to build one page, no links between pages and no “sub-pages”. After all, the first step was to build a flexible landing page and nothing more.
In the next step we will see how we can use this approach with different pages, page-specific content and content shared across sections and pages.
Another thing to keep in mind is that this is one way to achieve it. There might be many others, the same could probably implemented with some template logic and some clever CSS, but in my opinion this approach is more obvious and easier to maintain. And I believe that a good Developer Experience results in better products.
Thanks
To all the amazing people behind Eleventy (especially Zach Leat), to Stephanie Eckles and her 11ty.rocks which you should really have a deep look into.